Article published on October 27, 2017, and written by Rachel Gillett
Easy stenciled artwork!
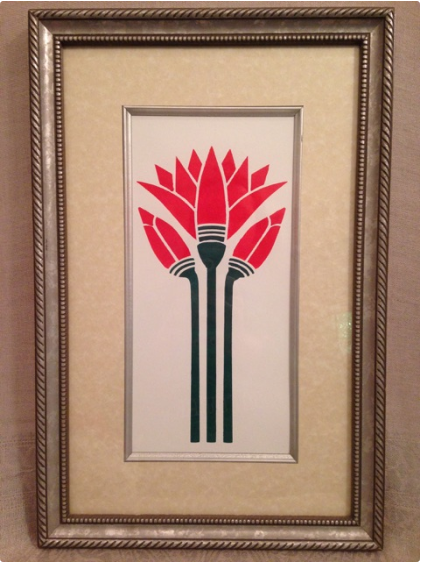
Join us as we create stenciled artwork! A happy customer, Karen G., wrote in a few years ago to say “I’m awestruck — your stencils are artwork!” and her lovely comment inspired today’s project. Local artist, Joni Prittie, designs most of our stencils. She has truly designed works of art. So, we decided to pick out some favorite stencils to paint and frame, to show off their detail and beauty. Our finished products are worthy of hanging on the wall, or giving away to friends and family as gifts!
Today’s project was fairly low-cost. Some picture frames were found gathering dust under a bed. So, we carefully removed the artwork inside (which, while lovely, wasn’t inspiring us anymore) to replace with our stenciled masterpieces. There were some large pieces of drawing paper found in our art supplies stash. The paper we picked seemed thick enough to handle acrylic paint. After we had gathered all of our supplies, we were ready to pick out some beautiful stencils. The best part! We chose our Egyptian Lotus Stencil, our Koi Stencil, our Owl Stencil, and our Hummingbird & Honeysuckle Stencil.
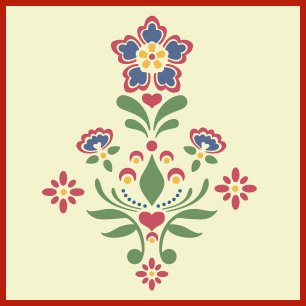
While we were picking out some favorite stencils that would fit in our frames, we noticed some real beauties. And, we noticed that some of our stencil categories are chock-full of stencils that would be perfect as stand-alone artwork pieces! We wanted to share them with you: check out Art Nouveau, Damask, Rosemaling, Victorian Cottage, Wildlife Animals, East Indian, Folk Art, and our Flowers category. You’ll find some showstoppers in there!
We hope you gain inspiration from today’s project, and stencil artwork for your home or to give away. It’s a joy to make something beautiful! Because our stencils are reusable, you can enjoy using them again and again, for all kinds of projects.


