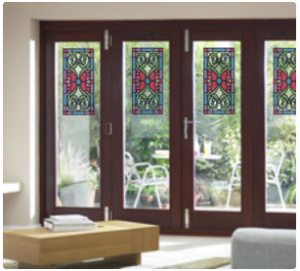
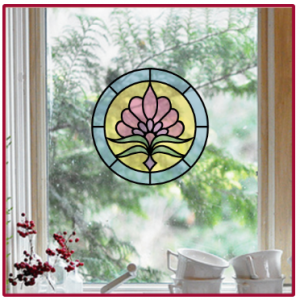
Our resident artist, Joni Prittie, has created a unique type of stencil that creates a stained glass effect on any surface! Our Stained Glass Stencil Collection is inspired by traditional homes and gorgeous cathedrals. When stenciled on window panes, the effect is prismatic and your sanctuary is filled with all of your favorite colors.
Several versions of these designs are available; square or round, with or without borders. More designs are coming soon.
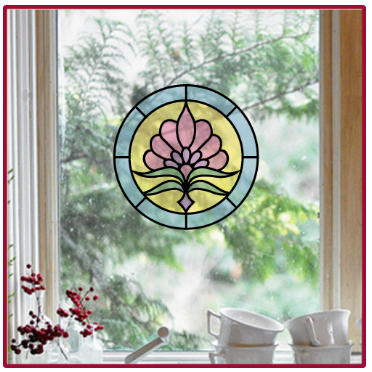
 FREE Sun 1 Stencil (3″x 3″ image) with every order! Only available from June 24th to July 7th, 2017.
FREE U.S. shipping for orders over $75

Check out our new Cardinal Round Stained Glass Stencil. Design measures 8″ x 8″. The imagination is limitless with stained glass stencils, any subject can be brought to life in this ancient style!

Hummingbird Stained Glass Square Stencil Design image measures 8″ x 8″. Our lively hummingbird gracefully drinks the nectar from a nearby flower, and is ready to be stenciled onto any number of projects and surfaces!
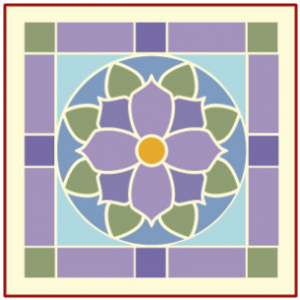
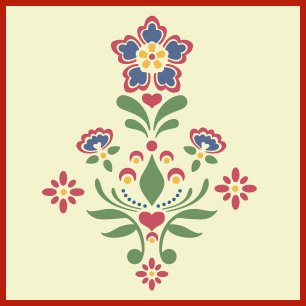
Stained Glass Flower 1 Square Stencil Design measures 8″ x 8″. This stencil has some spunk! Our stylized flower brings a pop of color and an open energy, and is ready to be stenciled onto any number of projects and surfaces

Our Tulip Stained Glass Round Stencil Design measures 8″ x 8″. This beautiful stylized tulip makes a statement! This pattern takes on different personalities depending on the colors used. Stencil in a variety of traditional tulip colors such as beautiful purples, yellows, oranges, pinks, and reds!
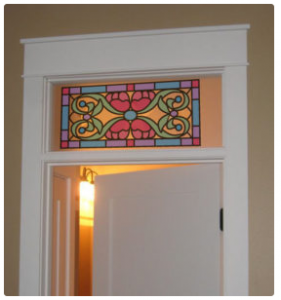 Our stained glass stencils look great on windows. Get the look of real stained glass by following these simple steps!
Step 1: Choose your desired paint finish/colors.
Step 2: Clean your surface, removing any dirt or oils. This helps your paint to adhere be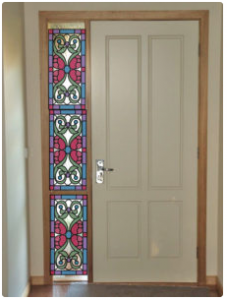 tter.
tter.
Step 3: Attach your stained glass stencil to a glass surface with painter’s tape to keep it securely in place.
Step 4: Choose a dry paint roller or dry stencil brush. A wet brush will dilute your paint and take away from its adhesiveness.
Step 5: Paint over your stencil, taking care to not overload your brush with paint. Let each layer of paint dry between coats. Allow all of your paint to dry before removing the stencil.
Step 6: Remove your stencil to reveal the finished result!
*The stencil featured in the project images on the right is coming soon!